
I've been starting to assemble some Easter decor in our house that I can pull out year after year. I don't want to get to the point where there's an Easter bunny perched on every empty surface and a decorated egg balanced on top of that, but I do like the idea of having a few hints of the holiday hanging around.
Last Wednesday while browsing the shelves at The Salvation Army, I found a polka-dotted teacup in all shades of Easter. (The stamp on the bottom says it's a Starbucks 2006 special edition; is it too soon to call it vintage? ;)

I crocheted a small stuffed bunny using some scraps from my stash. The pattern is from Lion Brand's site. I opted out of putting a face on the bunny. For some reason, I think it's cuter without a defined expression. With a bunny for my cup, it's looking Easter-y indeed.

Cost of this project:
$1.99 for the teacup and saucer
$0.00 for the yarn and polyfil scraps from my (ever-shrinking, but still enormous!) stash
=====
$1.99
The last Easter feature for this year doesn't look as cute as it did when it was full of foil-wrapped chocolate eggs, but it's still pretty sweet. I found the "bowl" at the MCC Thrift & Gift in Elmira a few months back. I think it's the kind of thing that you can buy at a craft store and paint, but I like it all in ivory.
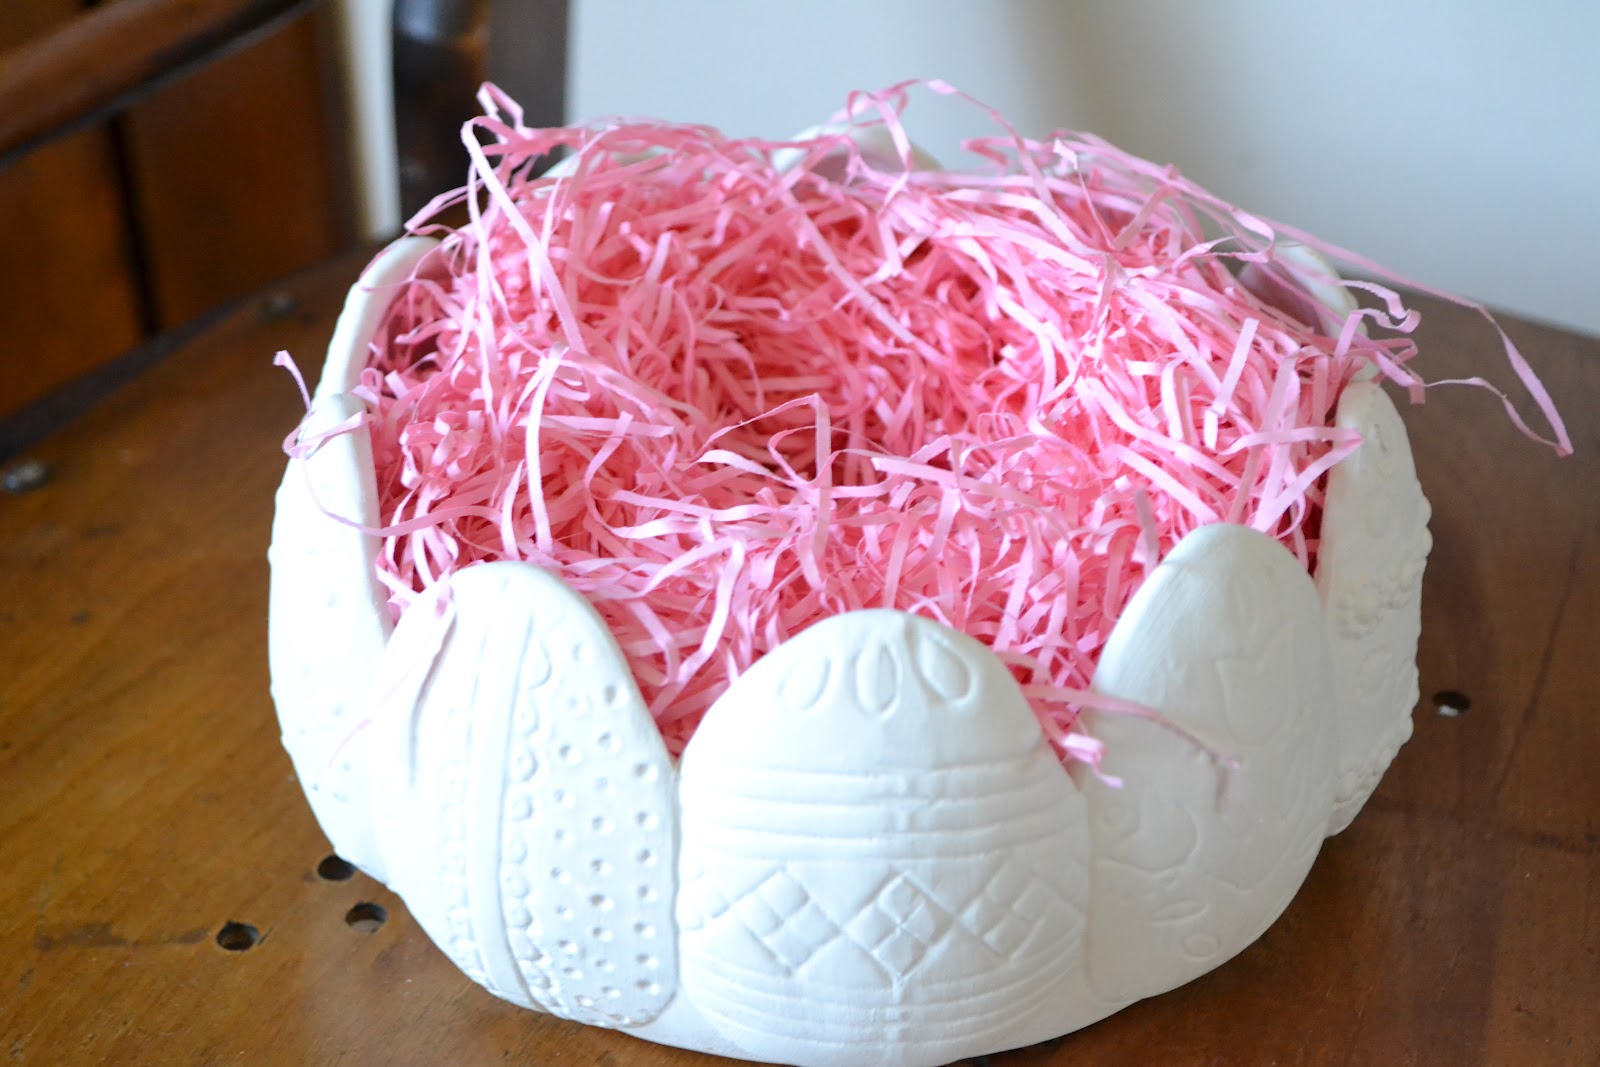
Cost of this project:
$2.00 for the bowl
$0.99 for the Easter basket grass
$1.29 for the Easter eggs that just....disappeared...
====
$4.28
...and now for the mess. When we moved into our house about a year and a half ago, one of the things we wanted to change quickly was the wallpaper upstairs. Not only was it pink flowers and blue ribbons, but it was nicotine-stained. I'd been putting it off and putting it off because...well...everyone always groans about stripping wallpaper and how much work goes into it.
Today we (and when I say we, I mostly mean Dan...but I've been working, too! In the ongoing battle of clean laundry vs. dirty laundry, clean is once again winning) stripped the wallpaper in the master bedroom in less than two hours. It was a bit messy, but the project went quickly, using just fabric softener and hot water in a spray bottle.

Turns out our wallpaper was "strippable," which made the job easy. This is yet another lovely thing about living in an older house! The top layer with the design on it came off easily by hand. Then we sprayed on the fabric softener and water, lifted the edge with a scraper, and the glue layer peeled away, slowly and satisfyingly, in nice, long sheets. We purchased a few different "scrapers" to lift the wallpaper, but it turns out that the 3 for $1.29 plastic putty knives from Wal-mart worked best. Go figure. I peeled off an entire piece of wallpaper, floor-to-ceiling in one go. I feel like a champion.
 |
| Blue walls, post-peel. |
Right now the walls are a grubby robin's egg blue and the whole upstairs smells like Fleecy. But all the glue is gone from the walls and the torn off paper is packed into a garbage bag and ready for curbside pickup! Perhaps I'll even head to the hardware store tomorrow and get the paint we need to finish up the job. Grubby walls aside, it already feels much more up-to-date up there.
Shared on Visions of Sugar Plums, Craft Envy and The Crochet Way.
Oooh! Oooh! When I got to the wall paper part of this post, I was like oooh! Oooh! I hope they used fabric softener! Works like a charm. I removed all the hideous border in our house using that method. I found it did get a little asphyxiating at times, though....cough cough.
ReplyDeleteYes, we definitely had to open all the windows upstairs, but we bought a hypoallergenic kind so it wasn't as strong. Can't wait to strip room number 2. :)
ReplyDelete