I tried to be a little
Wordsworthian in my blog post title. If I didn't succeed, there's no need to tell me so. ;)
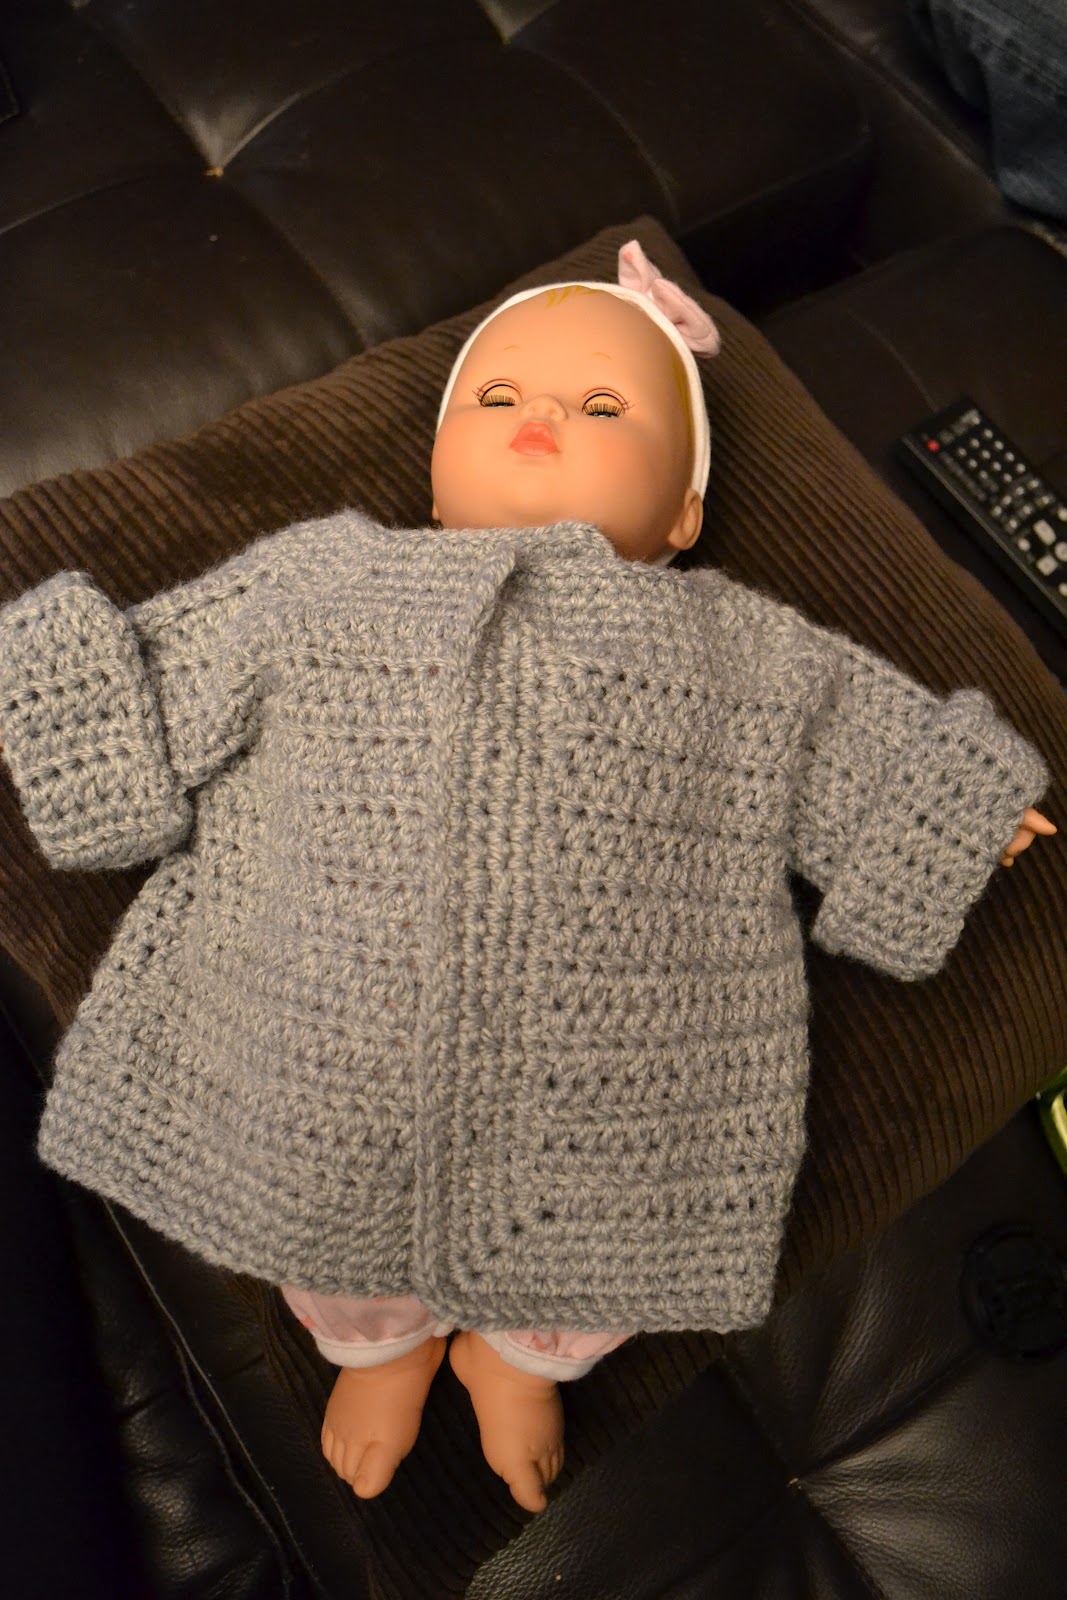
I'm calling this my Downton Abbey Jacket not because it necessarily looks like anything that might be worn on the show, but because I watched the entire first season of the show while completing this project.
 |
| Thanks to my niece, Maddy, for loaning me her baby doll for the big photo shoot. |
People often ask how long it takes me to complete a project. This little jacket was worked up mostly in one day, but it was a
very relaxed day. Before attaching the buttons, I was at 6.5 hours of work crocheting, sewing seams, and working in ends. This was my first sweater. I've often looked at them and thought they just seemed too complicated, but I liked the idea that this one was all crocheted in one piece.
I documented the jacket creation step-by-step to show just how easy crocheting a project like this can be. The biggest tool to have in your tool box for a project like this?
A measuring tape. You can pick up a cute retractable one at the counter of your favourite fabric store, or you can keep your eyes out for a freebie like this one (given out from an insurance sponsor at a teacher meeting I attended last year). Actually, a measuring tape gives me no more excuses about staying away from symmetrical projects. (Socks, mittens, gloves: watch out here I come!)
The pattern is a simple one from
Lionbrand.com. It's crocheted using an I hook and
Bernat Softee Baby yarn in "Flannel." One ball is enough to make the the sweater and it looks like there's enough left over for a hat and maybe even a pair of booties or no-scratch mittens. It was meant to be a 0 to 6 months size, but I think it might be more of a 6-12 months...hence the oversized look on the teeny baby doll.
 |
| Construction begins with a simple rectangle. |
 |
| Add additional chains to one side and work back across. |
 |
| Once you reach the other side, extend past the rectangle with extra chain stitches. Then turn and stitch all the way back across. |
 |
| This makes the back of the sweater and the back of the sleeves. |
 |
| Extend the sleeve on one side. (This is the front of the sleeve.) |
 |
| Extend down the front of one side and fasten off. |
 |
| Join on the other side and extend down to complete the rest of the front of the jacket. |
 |
| Here's what the main piece of the sweater looks like. All one piece! Nice and easy. :) |
 |
| Fold over and stitch the side seams and sleeve seams closed. |
 |
| Stitch around the collar, lapels, and bottom of the jacket |
 |
| Stitch several rows (around 6) for cuffs. |
 |
| Here's the completed jacket. All it needs is some buttons! |


Cute little jacket - thanks for sharing the link to the pattern. :)
ReplyDeleteThank you!
DeleteCrocheting sweaters seems too complicated also for me. But this baby piece looks easy. Really cute work!
ReplyDeleteThanks! It was surprisingly straightforward. I have the yarn all ready to make another. :)
DeleteVery cute!! I like the oversized sweater look on the doll :)
ReplyDeleteHi Lyndsay,
ReplyDeleteI just wanted to show you some love and let you know that I awarded you a Liebster :)
Kindly,
Hanni