Monday, August 8, 2011

Slouchy Market Bag

This kept me busy during my unable-to-sleep-alone-in-the-hotel-room nights last week. The pattern is for Linda Permann's "Flea Market Bag." I made it in worsted cotton (some that I picked up super cheap at last year's tent sale). The cotton made it nice and sturdy. I'll have to try it out on my next fruit-and-veggies shopping trip!


Yarn: (? something similar to Bernat Handicrafter Cotton) - approx. 1/2 of the 1lb. bag of mill-ends
Estimated cost of materials: $2.50-$3.00
Estimated time invested: 10 hours?

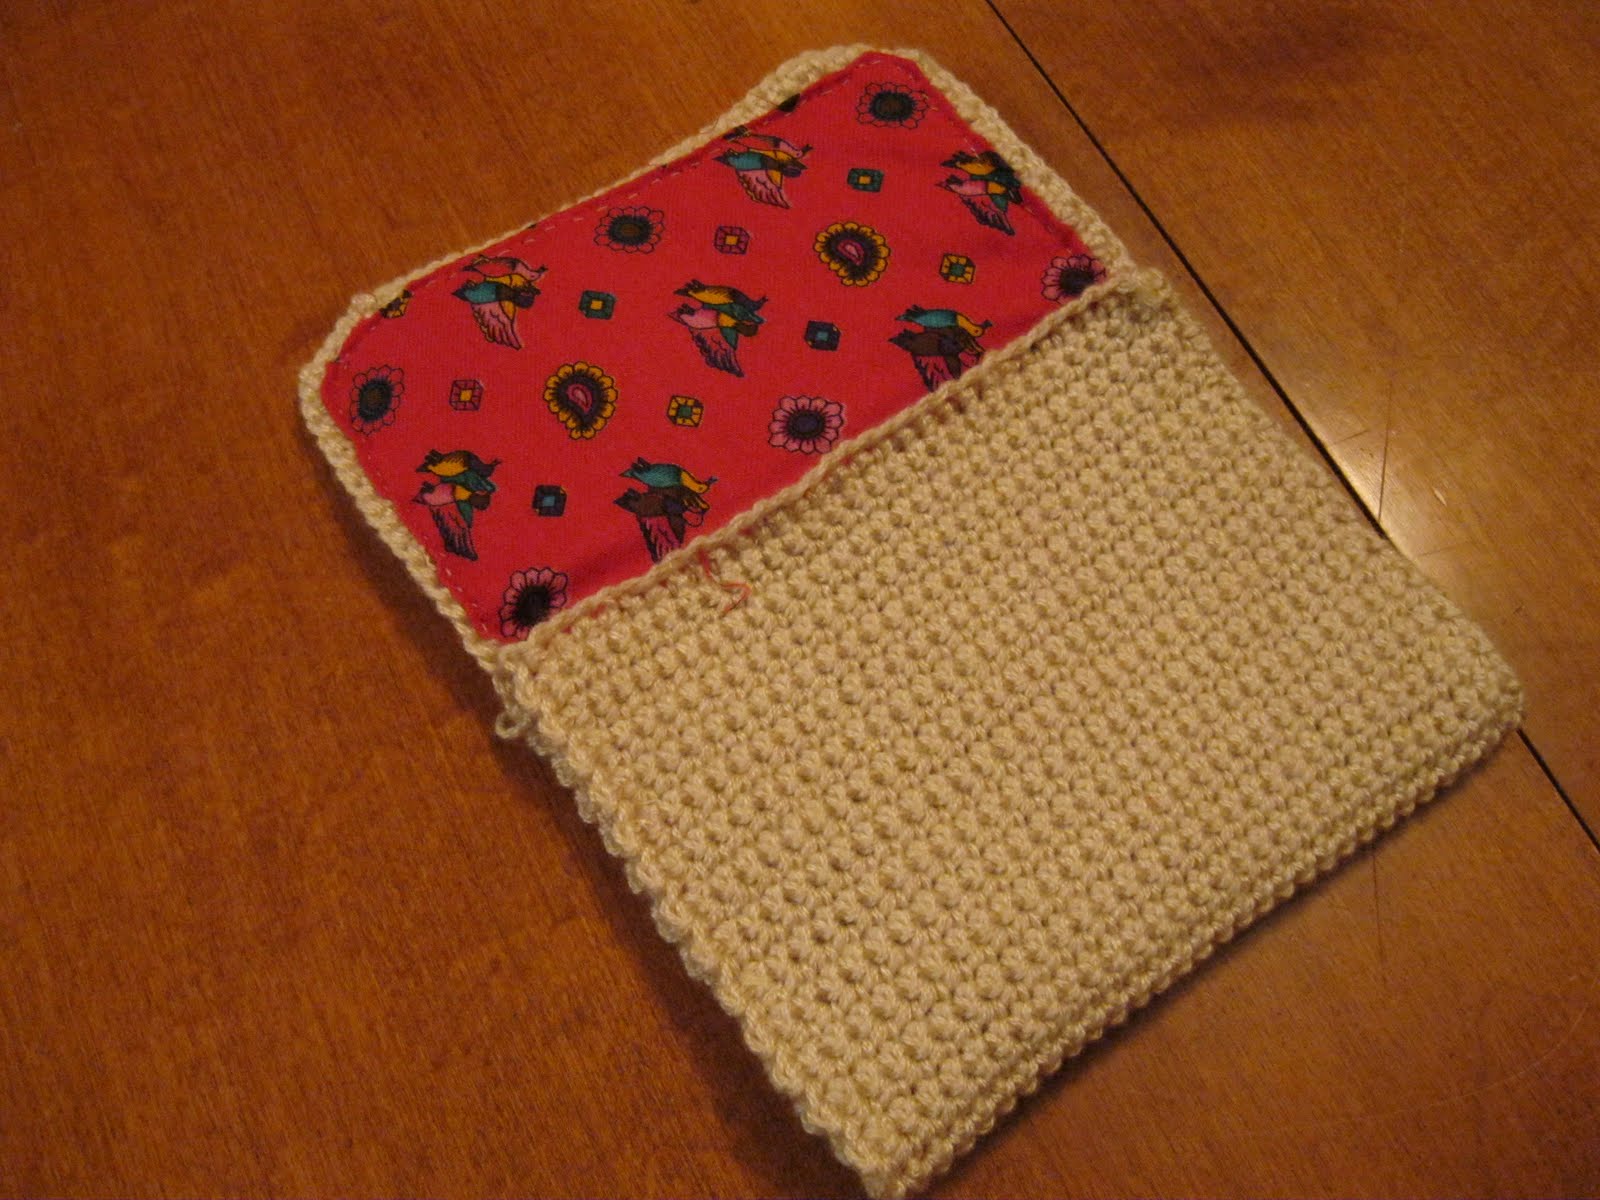
Oh, and I made a camera pouch, too. The yarn is from a 1970s ball of RedHeart Luster Sheen that I bought at the thrift store for $1.00 and the lining comes from a 50-cent fabric scrap I found at the same place. I haven't finished it (needs something cute appliqued on the front) but I'm taking it on vacation anyway! :)


Wednesday, August 3, 2011

Crochet Flowers Card

The pattern for the flowers and the idea for this card came from a Spring issue of Crochet Today. Here's my take on it.


(I now have two big balls of crochet thread and these flowers hardly take any materials to make, so I'm looking for some other ideas to help use it up!)

Tuesday, August 2, 2011

Dresser Collection


I can't take full credit for this idea. It's based on a suggestion I found in some magazine, somewhere, at some time! One of my favourite little bits of my dressing room/our guest room is my dresser collection of blues and greens. Nothing on the dresser cost more than $5.00 (the jar of beach glass from Nova Scotia) and most things cost less than $1.00. Every so often, I see something interesting and add it in and/or swap something out. A simple way to add a little cottagey-kitsch to our cozy home. :)

Monday, August 1, 2011

Crafty Genes


Just a quick post for today, but as I was making my bed, I thought that the summer quilt we have on it was good proof that I was born to be crafty. Pieced by my Dad's mom with painstakingly tiny stitches and quilted by my Mom's mom and her cackling posse of quilting 'hens,' this quilt is a treasure. Probably sleeping under it is the reason why I wake up itchy with new crafting ideas!

Sunday, July 31, 2011

iPad Cover - My first blogged pattern! ;)


Lucky girl that I am, I got an iPad for my birthday this spring. I had to wait patiently for two weeks for my neat little toy to arrive, so when I realized that it would take another two weeks to order a case, I decided to make one myself. This is a first attempt, but it was a pretty good first attempt and has proven quite functional. It provides a decent amount of padding, without being bulky, and it's machine washable! Here is the pattern--my first written-out pattern ever!


Materials:
- 2 or 3 50g balls of worsted weight cotton yarn
- size H crochet hook
- 1 metre of elastic (about 0.75cm wide)

Directions:

Foundation Row: ch 38

Row 1: 1hdc in 3rd chain from hook; 1 hdc in each ch across.

Row 2: (ch 2, turn, counts as 1st hdc) 1 hdc in each hdc across

Row 3: (ch 1, turn, counts as 1st sc) 1 sc in each hdc across

Row 4: (ch 2, turn, counts as 1st hdc) 1 hdc in each sc across)

Repeat rows 3 and 4 until you have a rectangle big enough to wrap around your iPad completely, plus about 15 cm extra. This took 50 sets of rows 3 and 4 for me, but might vary depending on the brand of yarn and tightness of your crochet. Use your iPad as a guide.

Row 105 (or so): Ch 2, turn, counts as 1st hdc. 1hdc in each sc across.

Row 106: This is the row where you make the funky peekaboo spots for the elastic to slip through. (You probably could just continue with scs and hdcs in rows if you wanted...the elastic would likely thread through anyway. I didn't think of that at the time.) Ch 2, counts as 1st hdc. 1hdc in next hdc. *Ch 1. Skip 1 hdc space. 1 hdc in each of the next 3 hdc spaces. Repeat from * across.


Row 107:
same as 105

Row 108: same as 106

Row 109: ch 1, turn. 1sc in each hdc or ch1 space across

Row 110: A row of shells to make a scallopy edge! Ch 1, 1 sc in next hdc. * Skip 2 hdc spaces. 5 dc in next hdc space. skip 2 spaces. 1sc in next hdc space. Shell made. Rep from * across. This should allow six shells to fit in perflectly.

Finishing:

Fold your rectangle like an envelope. The straight edge will be on the inside. The funky shelled edge is the flap. 1 sc around ALL the edges, including the bottom fold of the pouch. (This help it keep its shape.) Hold the edges of the inner part of the envelope together while you do your scs around the edge and sc them together to "sew" this portion of the flap closed.

Cut your 1m of elastic into two 50cm lengths. Thread each through one of the eyelet holes and stitch each one closed so it makes a loop. (Depending on the stretchiness of the elastic, you may need a little more or less than I did.

Done! :)


Saturday, July 30, 2011

Baby Beanies Sneak Peak

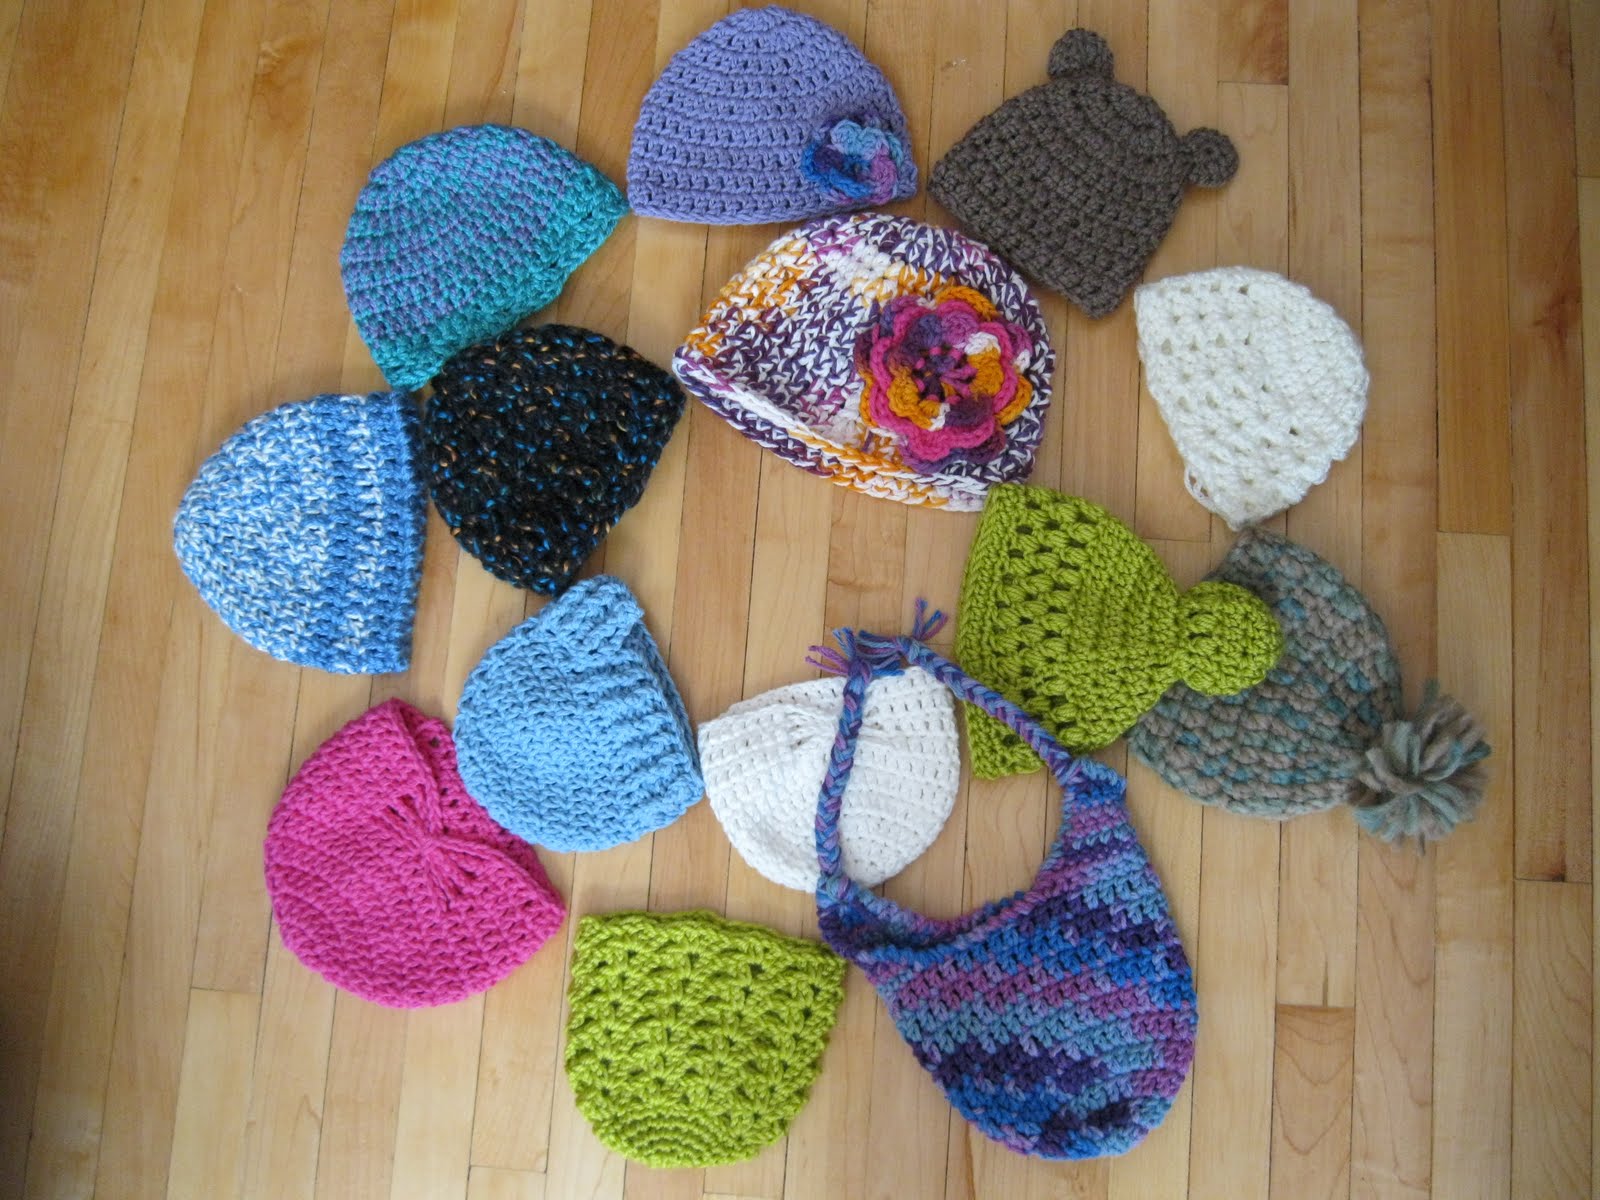
I've been mastering the art of baby beanies this week. I love the idea of a project that you can finish in half an hour! New mommies and mommies-soon-to-be take note and take your pick: something similar might be coming to a gift bag near you soon! I'll post the pattern links and instructions for my own creations someday, but I had to show off my progress. ;)


P.S. Leaving a comment below might just be enough to convince me to give you one of these cute little hats!
P.P.S. This is not a symptom of baby fever. I just became an auntie and had a photographer who is starting up ask for some photography props. Is that clear?!?! ;-)

Friday, July 29, 2011

My New Hat - Fun With The Puff Stitch


Ready for fall! I've been working on hats for baby gifts (pictures to come) and I started getting jealous of all the fun hats these little people were going to have. This was yarn I bought to make an afghan earlier this year, but once I got it home I realized it didn't match the colours I had purchased already. Ah, well; it looks better in hat form, anyway!

This was my first experience with a puff stitch and I think it's my new favourite!

The yarn is Bernat Satin in "Teal." The pattern is from Vicki Howell's blog.

The Custom Details:
I love a pattern that's simple enough to make alterations to because, let's face it, I have a giant head. I made a 24" band instead of a 21" band. (Three inches! No wonder store-bought toques are headache-inducing.) This meant I started with 84sc instead of the 72 recommended for the regular size. (Simple math: add 4sc for every inch you add to the band, or take away 4sc if you wanted to make it an inch smaller.) Likewise, I kept crocheting until the hat was about 12.5" in length, instead of the specified 11" to account for the extra space my large noggin would occupy.


Cost: About $6.00 worth of yarn and 6 hours worth of time. (Did I mention I watched TWO movies yesterday? Did I mention that I love summer vacation?)
Related Posts Plugin for WordPress, Blogger...