Crisp wrapping paper + soft blanket corners = a frustrating time.
Solution: head to the dollar store or the mill end store and wrap it up like this:
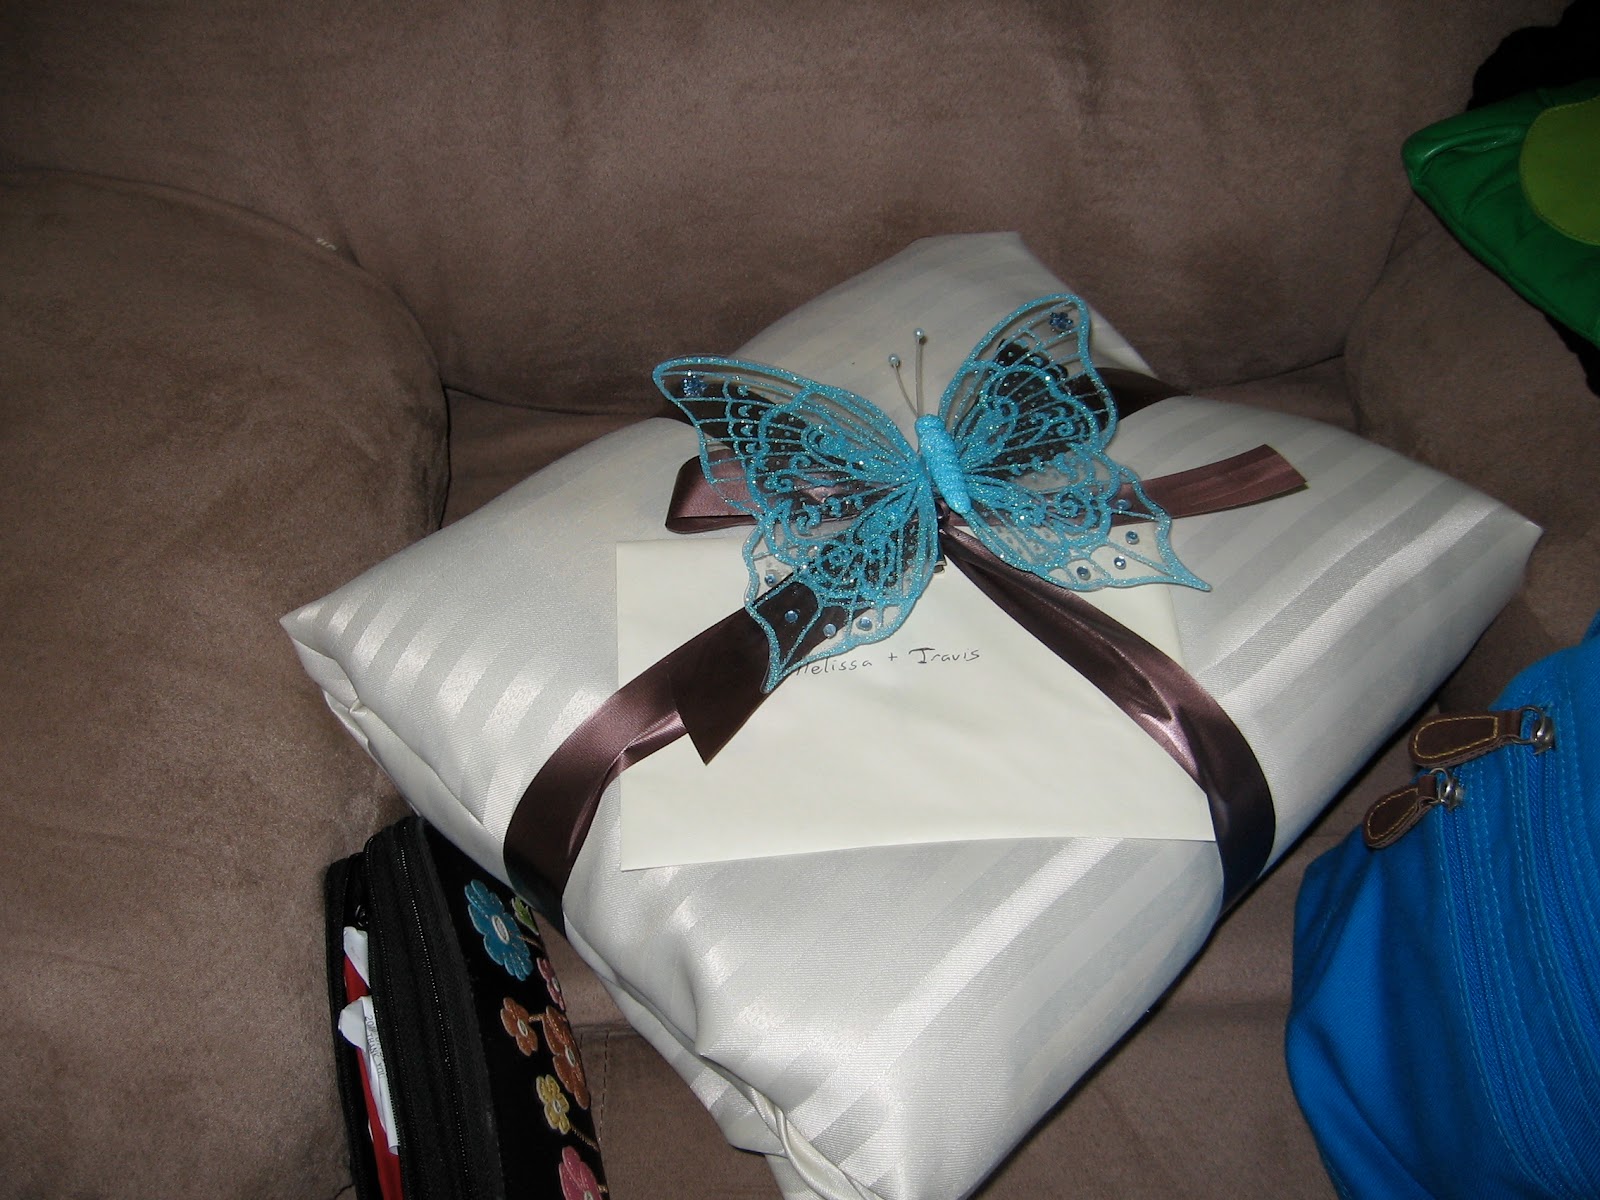 |
| A dollar store table cloth, a roll of satin-y dollar store ribbon, and a dollar store glittery butterfly clip. |
 |
| One metre of mill-end fabric, 1.5 metres of gros-grain ribbon, and a dollar store Christmas tree decoration. |
1. Roll out the entire roll of cellophane gift wrap. (Yes, you can get it at the dollar store.)

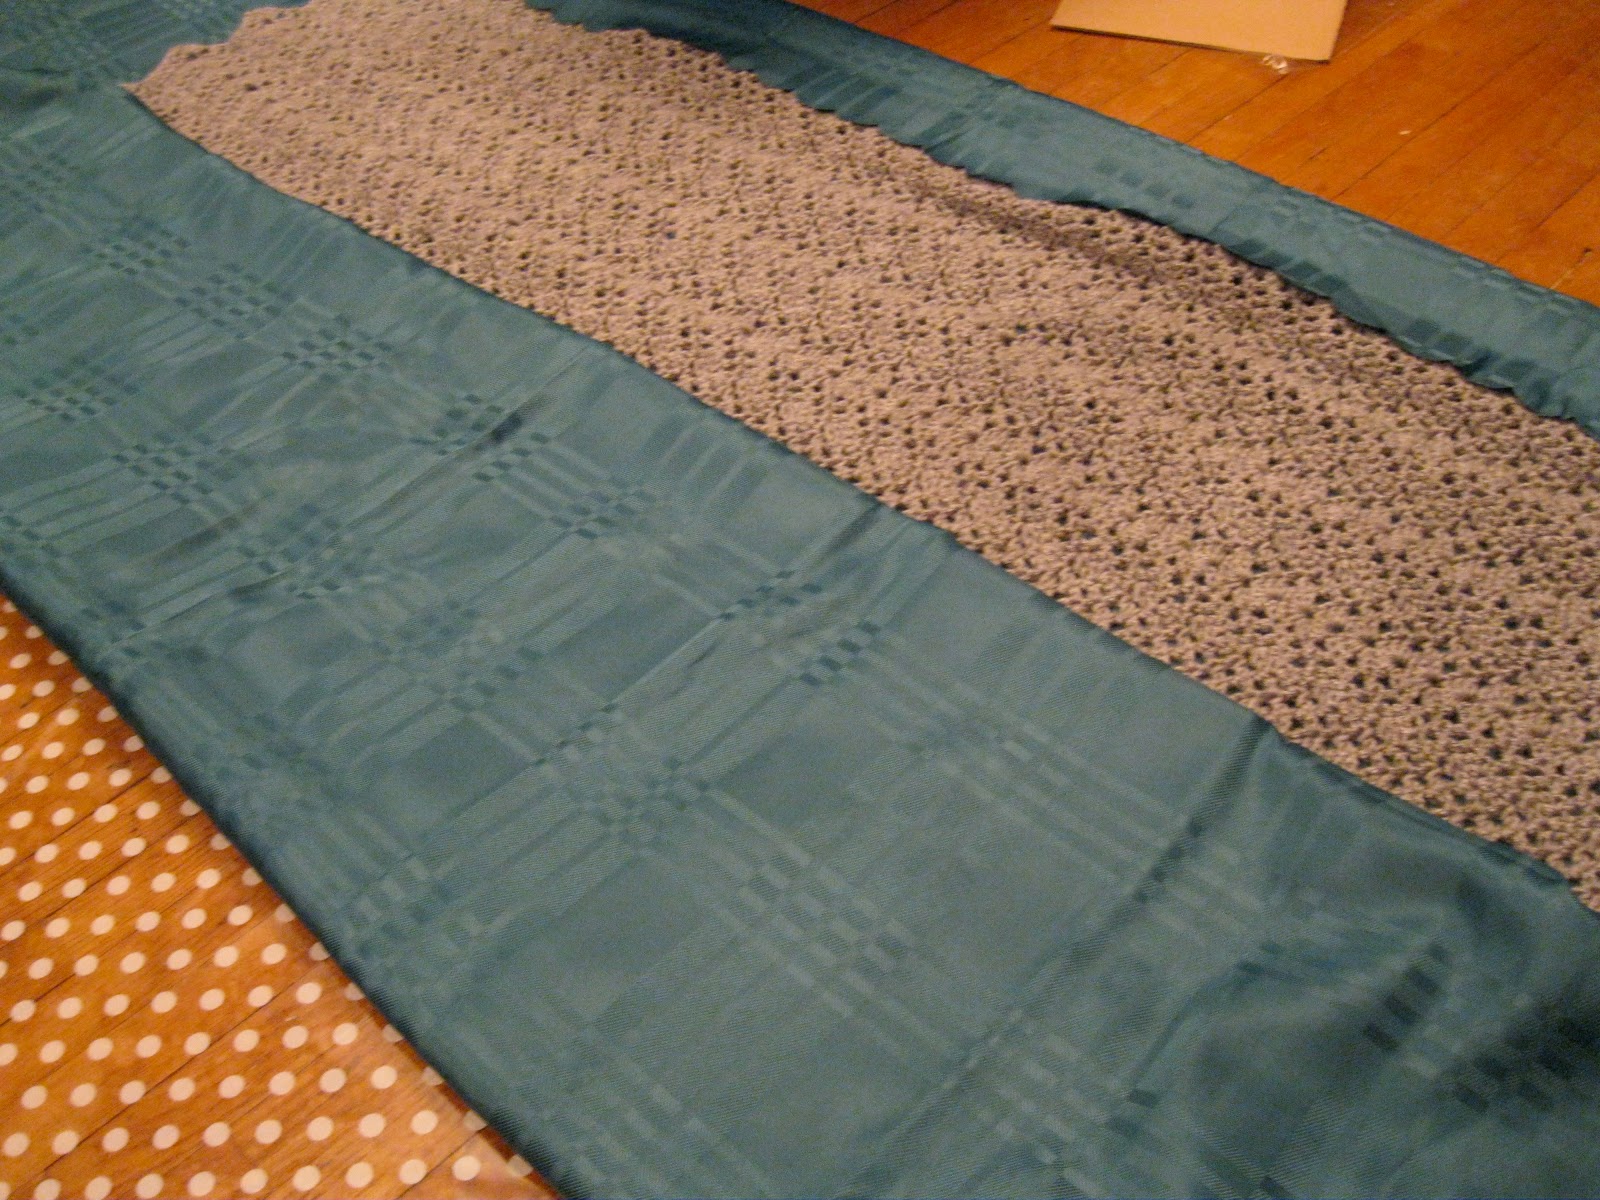
2. Lay the tablecloth or fabric wrapping down over the cellophane and lay the afghan on top. (If the afghan is larger than the table cloth, I recommend folding it in half before you keep wrapping.)

3. Fold in the excess edges of the table cloth on either side.

4. Holding both the tablecloth and afghan together, fold in to the middle. Both sides will be folded in, so it's helpful to think about folding in thirds.
4. The top and bottom ends of the afghan/table cloth combination are still loose, like this:

5. (Here's where I seem to have missed a photo.) Fold in the other side of the afghan and table cloth, holding both together. You should now be looking at a big long rectangle of tablecloth with no afghan visible.
6. Wrap the cellophane around and secure with clear tape. (I needed an extra set of hands to do this part.)

7. Fold in the top and bottom overhanging ends of table cloth and secure with a bit of tape.

8. Fold in both ends of the wrapped "tube" to meet near the middle. (Leave a bit of a gap, as shown in the picture, to make the final folding step easier.)

9. Make one final "fold," right along the gap from step 8.

10. Secure your wrap job with ribbon. (Sometimes extra hands are helpful at this point, too!)

11. Add a bit of bling to the top of your package. :)

These bells were Christmas decorations that came in a package of 12 from the dollar store.

12. Take a photo of your wrap job (...because I totally want to see it).
p.s. Apparently this is the 50th post on my blog. I guess I'm officially a blogger now. I think I'll celebrate with another cup of coffee before I return to my New Years organizing blitz.
Hi Lyndsay,
ReplyDeleteThis is a great post. I'm going to give a baby blanket to a friend, so I will use your tips on wrapping it.
You asked me about sharp hooks. I don't really know where you can buy it. The one I have was made by my dad many decades ago.
There was no finishing on the edges of my hankies.
I just found this site. Perhaps it will be of help.
http://www.sharpcrochethook.com/
Thank you, Olga. I'm hoping to try some fancy edging on my next baby blanket gift. :)
ReplyDeleteThis is SO awesome and so very helpful!!! Thank you. I will be using this soon... There are lots of babies coming this year and lots of blankets to be made and wrapped :)
ReplyDeleteThanks, Paige! I'm glad it was helpful.
ReplyDeletehi
ReplyDeleteWhat a clever and thoughtful way to wrap an afghan! Your step-by-step guide makes it easy to create a beautifully presented gift. For those looking to elevate their gift wrapping even further, consider using PETG shrink film. As leading PETG Shrink film Suppliers, Kingchuan Packaging offers a wide range of high-quality films that can add a polished and professional finish to your gifts. Their films are perfect for creating sleek and secure packages. Explore their collection to find the perfect film that matches your style and occasion.
ReplyDelete